I’ve recently started helping a partner create a few hundred SD cards for distributing audio publications. (If we were producing a lot more than that, then would consider using an SD card duplicator. But for our smallish quantity, we decided to try using a USB hub.) I’d be happy to hear feedback if others have found other ways to do this, but I’m sharing our experience to show that there’s at least one way to do this.
Here are the steps we’ve taken to accomplish this:
- Get a multi-port USB hub and adapters (well under $100).
- Get a supply of SD cards/USB drives (~$7 per 4-GB card here).
- Copy audio files to a master device (SD/USB).
- Organize files as appropriate so that they are ordered in the desired playback order.
- Ensure that the “disk order” of the files matches the “sort order” seen in a file manager.
- Create an image of the master device.
- Write the image to additional devices.
The master device in Step 3 needs to have a single FAT partition. Most come already like this, but we reformatted ours anyway to make use of some unused space, as well as ensure that we were starting from a completely clean slate.
For organizing the files in Step 4, we found that folders can be used to organize contents as seen in a file manager, while the playback device basically ignores them. This was less confusing that having all files at the root level and having to name them all with overly-descriptive file names.
For proper file ordering in Step 5, we used the command fatsort (install with sudo apt install fatsort) to ensure that the disk order of the files matched the desired playback order. This is necessary for simple audio players that only play files in the order they are listed in the FAT filesystem’s File Allocation Table, which is more or less the order that the files are written to the disk. We then tested the master on a few media players, just to make sure!
NOTE: Even when copying files “in order” using
rsync, this still led to some files being played out of order for some reason. It was still necessary to use fatsort to get the desired results.
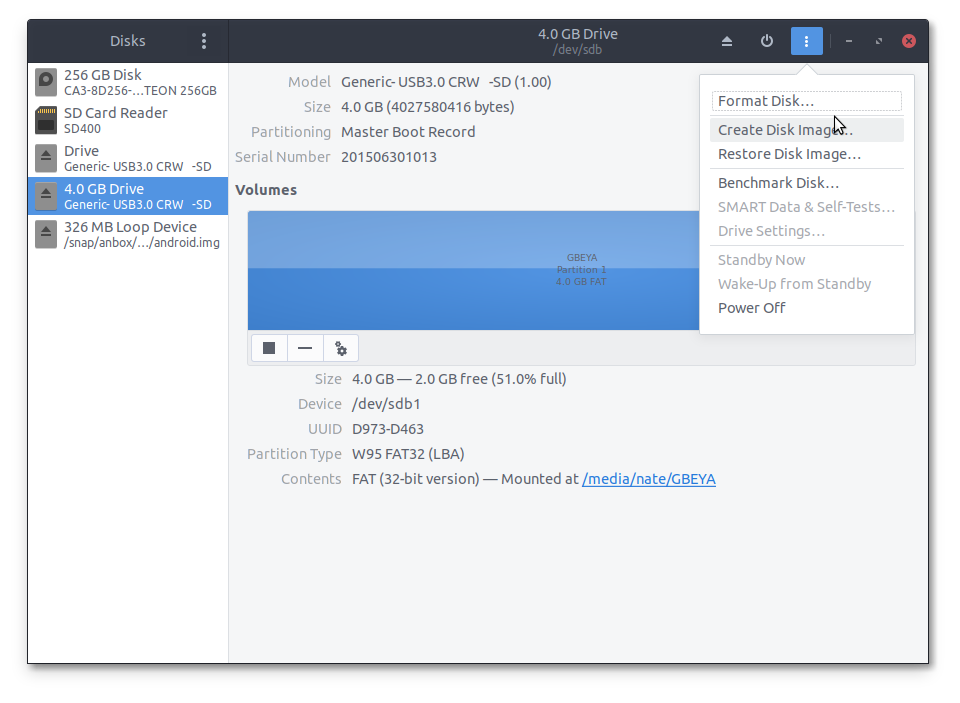
For creating the master image in Step 6, we used the Disks app (included in Wasta-Linux and Ubuntu), and chose “Create Disk Image” from the overflow (3-dots) menu:
And, finally, for writing the image in Step 7, we used MultiWriter (install with sudo apt install gnome-multi-writer) to write the image to multiple devices simultaneously (NOTE: only one destination device shown here, but many can be written to at once):

Using this workflow, an iT support person can manage (create and update) the contents by repeating Steps 3-6 above, and any Wasta-Linux user (with sudo permissions) can perform Step 7 to actually write the image to multiple disks at once.